Before you mix up Meta in Adjust, you need to create an tiện ích in your Meta developer account. This generates the app ID that you need to lớn connect your phầm mềm to Adjust.
Bạn đang xem: Cách tạo một facebook apps và lấy app id, secret key
Before you begin
Here's what you need khổng lồ know before getting started.
Requirements
| Android | Google Play package name Class name |
| i OS | Bundle ID i Phone Store ID i Pad Store ID |
Register as a Meta developer
If you've already registered as a Meta developer, skip this step.
Log in to your account.Create an app in Facebook
This section provides instructions on setting up an tiện ích in Facebook. If you've already phối up an app, skip this section.
Select Create App.Under What vày you want your app to do, choose the use case for your app.Choose the type of app.Provide an phầm mềm name, tương tác details, and select Create App.Once you create the app, an ứng dụng ID is assigned. You need this value while setting up Facebook in Adjust.Go khổng lồ Settings > Basic, & select Add Platform.Choose your platform and enter additional platform-specific details:| Choose the apk store, and select Next. Enter the Package Names and Class Name. Meta uses this information khổng lồ let users download your app from the Play Store if they don't have it installed. If you're importing events from Adjust, turn off the toggle for Log in-app events automatically. Select Save changes. Once you save your changes, the Install Referrer Decryption Key is populated. |
| Enter the Bundle ID, và the i Phone và i Pad Store IDs. Meta uses this information to lớn let users download your app from the ứng dụng Store if they don't have it installed. If you're importing events from Adjust, turn off the toggle for Log in-app events automatically. Select Save changes. |


Important values
You need the following values from your phầm mềm while setting up Meta in Adjust:
(Required) ứng dụng ID - In your Meta developer account, go lớn your app. Make cảnh báo of the App ID.(Android only - Recommended) Decryption key - In your Meta developer account, go khổng lồ Settings > Basic. Under the Android section, make note of the Decryption key. You need this only if you're exporting device-level data through raw data exports. This enriches campaign data for android users. Ignore this setting for iOS.
Associate ad account IDs with your app
In this section, learn how lớn associate the ad accounts that use khổng lồ run your chiến dịch with your app. You can associate multiple ad accounts with your app.
In Meta for Developers, select Apps and mở cửa your tiện ích dashboard.Go to lớn App Settings > Advanced.Set up a Meta phầm mềm Ad campaign
In this section, learn how to promote your ứng dụng across Facebook, Instagram, và Facebook Audience Network.
Select Create khổng lồ create a new campaign.Choose App promotion as the chiến dịch objective.Choose the appropriate chiến dịch type.Go to lớn 1 Ad set, và under the App section, enter the ứng dụng name or exact store URL of the ứng dụng you want to promote.Set up ứng dụng events
In this section, learn how to lớn send sự kiện activity khổng lồ Meta from Adjust.
Search & select Adjust.Select Connect account.Select the phầm mềm that you created.Your thiết đặt in Meta Ads Manager is complete. Now, you need to go to Adjust, and bản đồ Adjust events to lớn Meta events.
Xem thêm: Tại sao không tải được ứng dụng shopee trên iphone, android cho người mới
When your events are triggered, you'll be able to lớn see sự kiện details under Data sources in Meta Events Manager.
Disable sự kiện logging in Meta
After you phối up event mapping in Adjust, disable sự kiện logging in the Facebook SDK. This ensures that events are measured only once.
Instead of defining events in the Facebook SDK, you can define equivalent events on Adjust and liên kết them to lớn Meta. Defining events on Adjust also allows you to links the events to lớn other networks.
To disable Facebook SDK sự kiện logging, follow these steps:
Select your app.Go khổng lồ Settings > Basic.For each of your platforms, ensure that you've turned off the toggle for Log In-App Events Automatically.Additionally, you need to vày the following in your app:
(i
OS apps only) Paste the Connection URL
You need khổng lồ copy the Connection URL from the Conversion Hub in Adjust, and paste it in Meta Events Manager. This provides Meta with a liên kết to your conversion value mappings.
Choose the tiện ích that you created.Go to lớn Settings.Under Configure app Events for SKAdNetwork, select Start Setting Up Events or Edit Events if you have configured it before.Select Import from Partner App, và select Next.Paste the Connection URL that you copied from Adjust's Conversion Hub, and select Connect.Review your imported configurations, & select Confirm.
0. Giới thiệu tổng quan 1. Đăng cam kết và tùy chỉnh trường 2. Xây dựng khóa học 3. Câu hỏi và bài bác kiểm tra 4. Thống trị học viên 5. Quản lý đơn hàng 6. Thiết đặt website với giao diện 7. Marketing 8. Tải đặt API Auto Webinar
Bước 1 : truy vấn đường liên kết : https://developers.facebook.com/apps
Bước 2 : Click vào “Đăng ký ngay” ở góc cạnh trên cùng mặt phải.

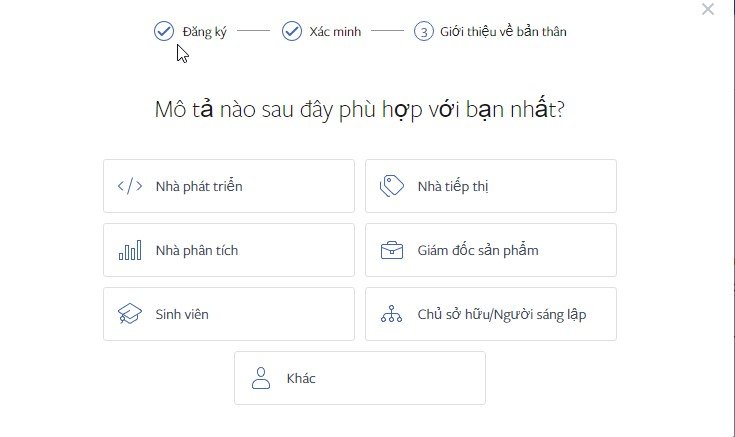
Bước 3 : Giới thiệu phiên bản thân.
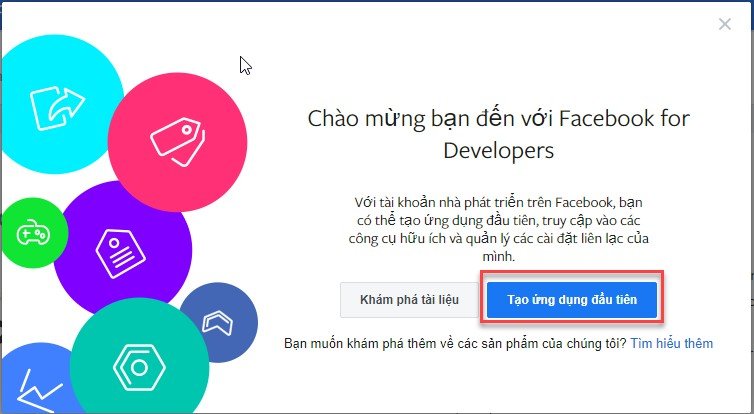
Bước 4 : Tạo vận dụng đầu tiên
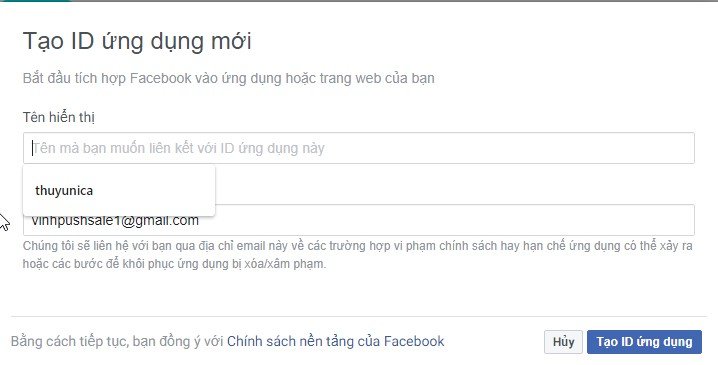
Bước 5 : Nhập tên hiển thị kế tiếp nhấn “ Tạo ID Ứng dụng”.
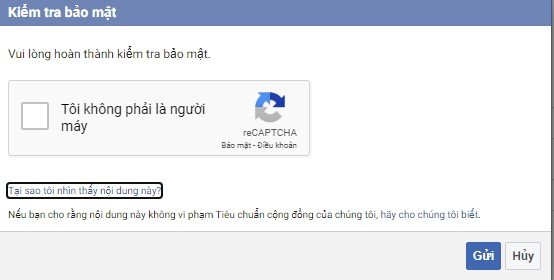
Bước 6 : chấm dứt kiểm tra bảo mật.
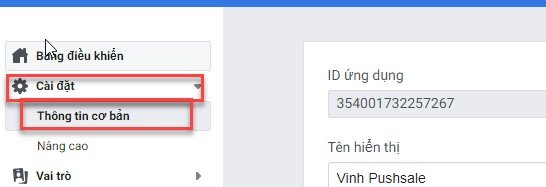
Bước 7 : lúc tạoApp Facebookhoàn thành website sẽ tiến hành chuyển hướng đến giao diện quản lí lý. Bạn Chọn menuCài đặt->Thông tin Cơ bảnđểthiết lập những thông tin phải thiết.
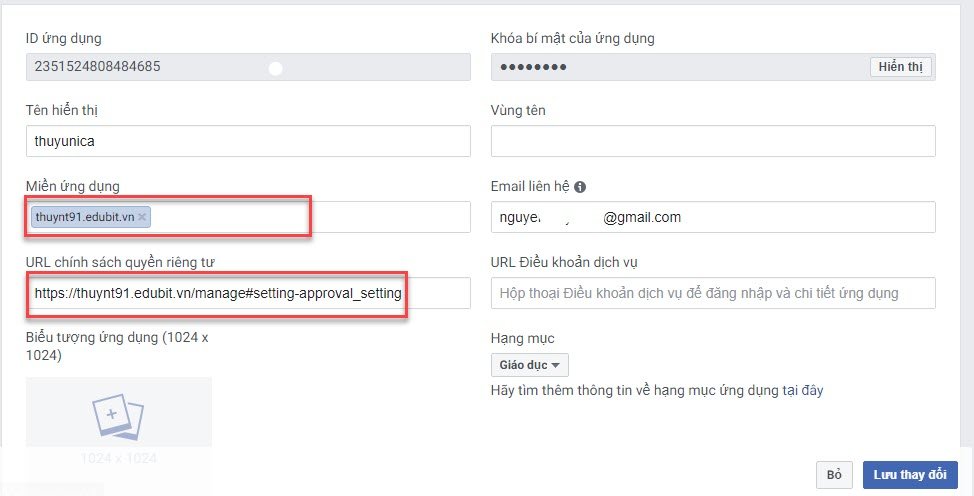
Bước 8 : các bạn nhập thông tin quá trình sau
- Miền ứng dụng: tên miền Webiste của chúng ta ( thương hiệu miền không chứa http:// hoặc www).
- URL chính sách quyền riêng tư: Nhập đường truyền có nội dung chế độ quyền riêng tứ của trang web ( bắt buộc gắn một URL nào đó vào)
- URL Điều khoản dịch vụ:Nhập đường truyền có nội dung lao lý dịch vụ của website (Có thể để trống còn nếu như không có).
- biểu tượng ứng dụng (1024 x 1024): Thêm Logo áp dụng (Có thể để trống)
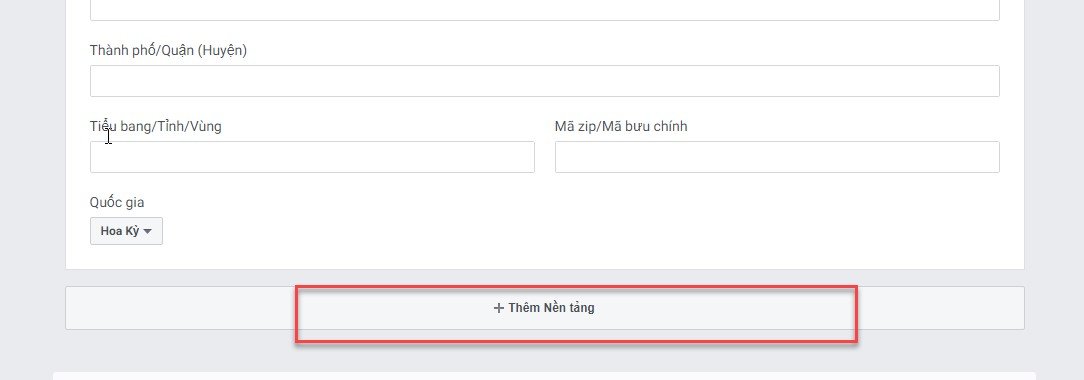
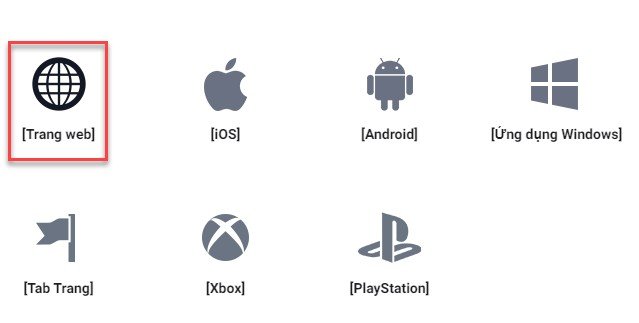
Bước 9 : Kéo xuống dưới nhấn nút “ Thêm nền tảng”
Bước 10: lựa chọn “ Trang Web”
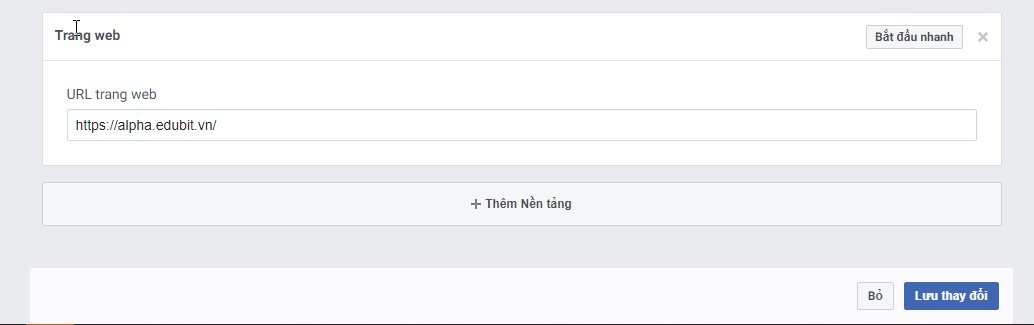
Bước 11 : Nhập URL của website vào tiếp đến nhấn “ Lưu cố kỉnh đổi”
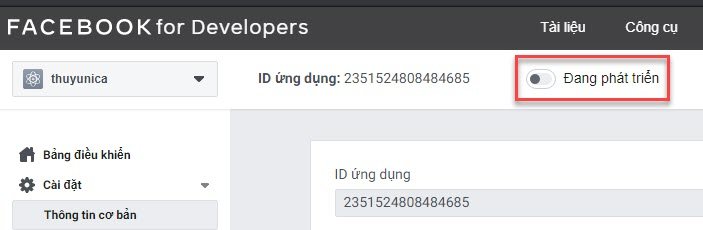
Bước 12 : bật nút gửi từ chế độ " Đang phát triển" quý phái " Công khai"
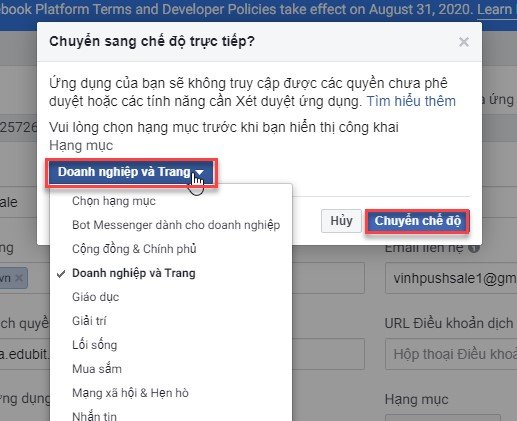
Bước 13 : “ Chọn hạng mục” với nhấn” Chuyển chế độ”
Bước 14 : sau khi ứng dụng đang ở trạng thái hoạt động, copy mã ID với dán vào phần Facebook phản hồi trên trang cai quản trị ungdungfb.com sau đó nhấn " Cập nhật"


